
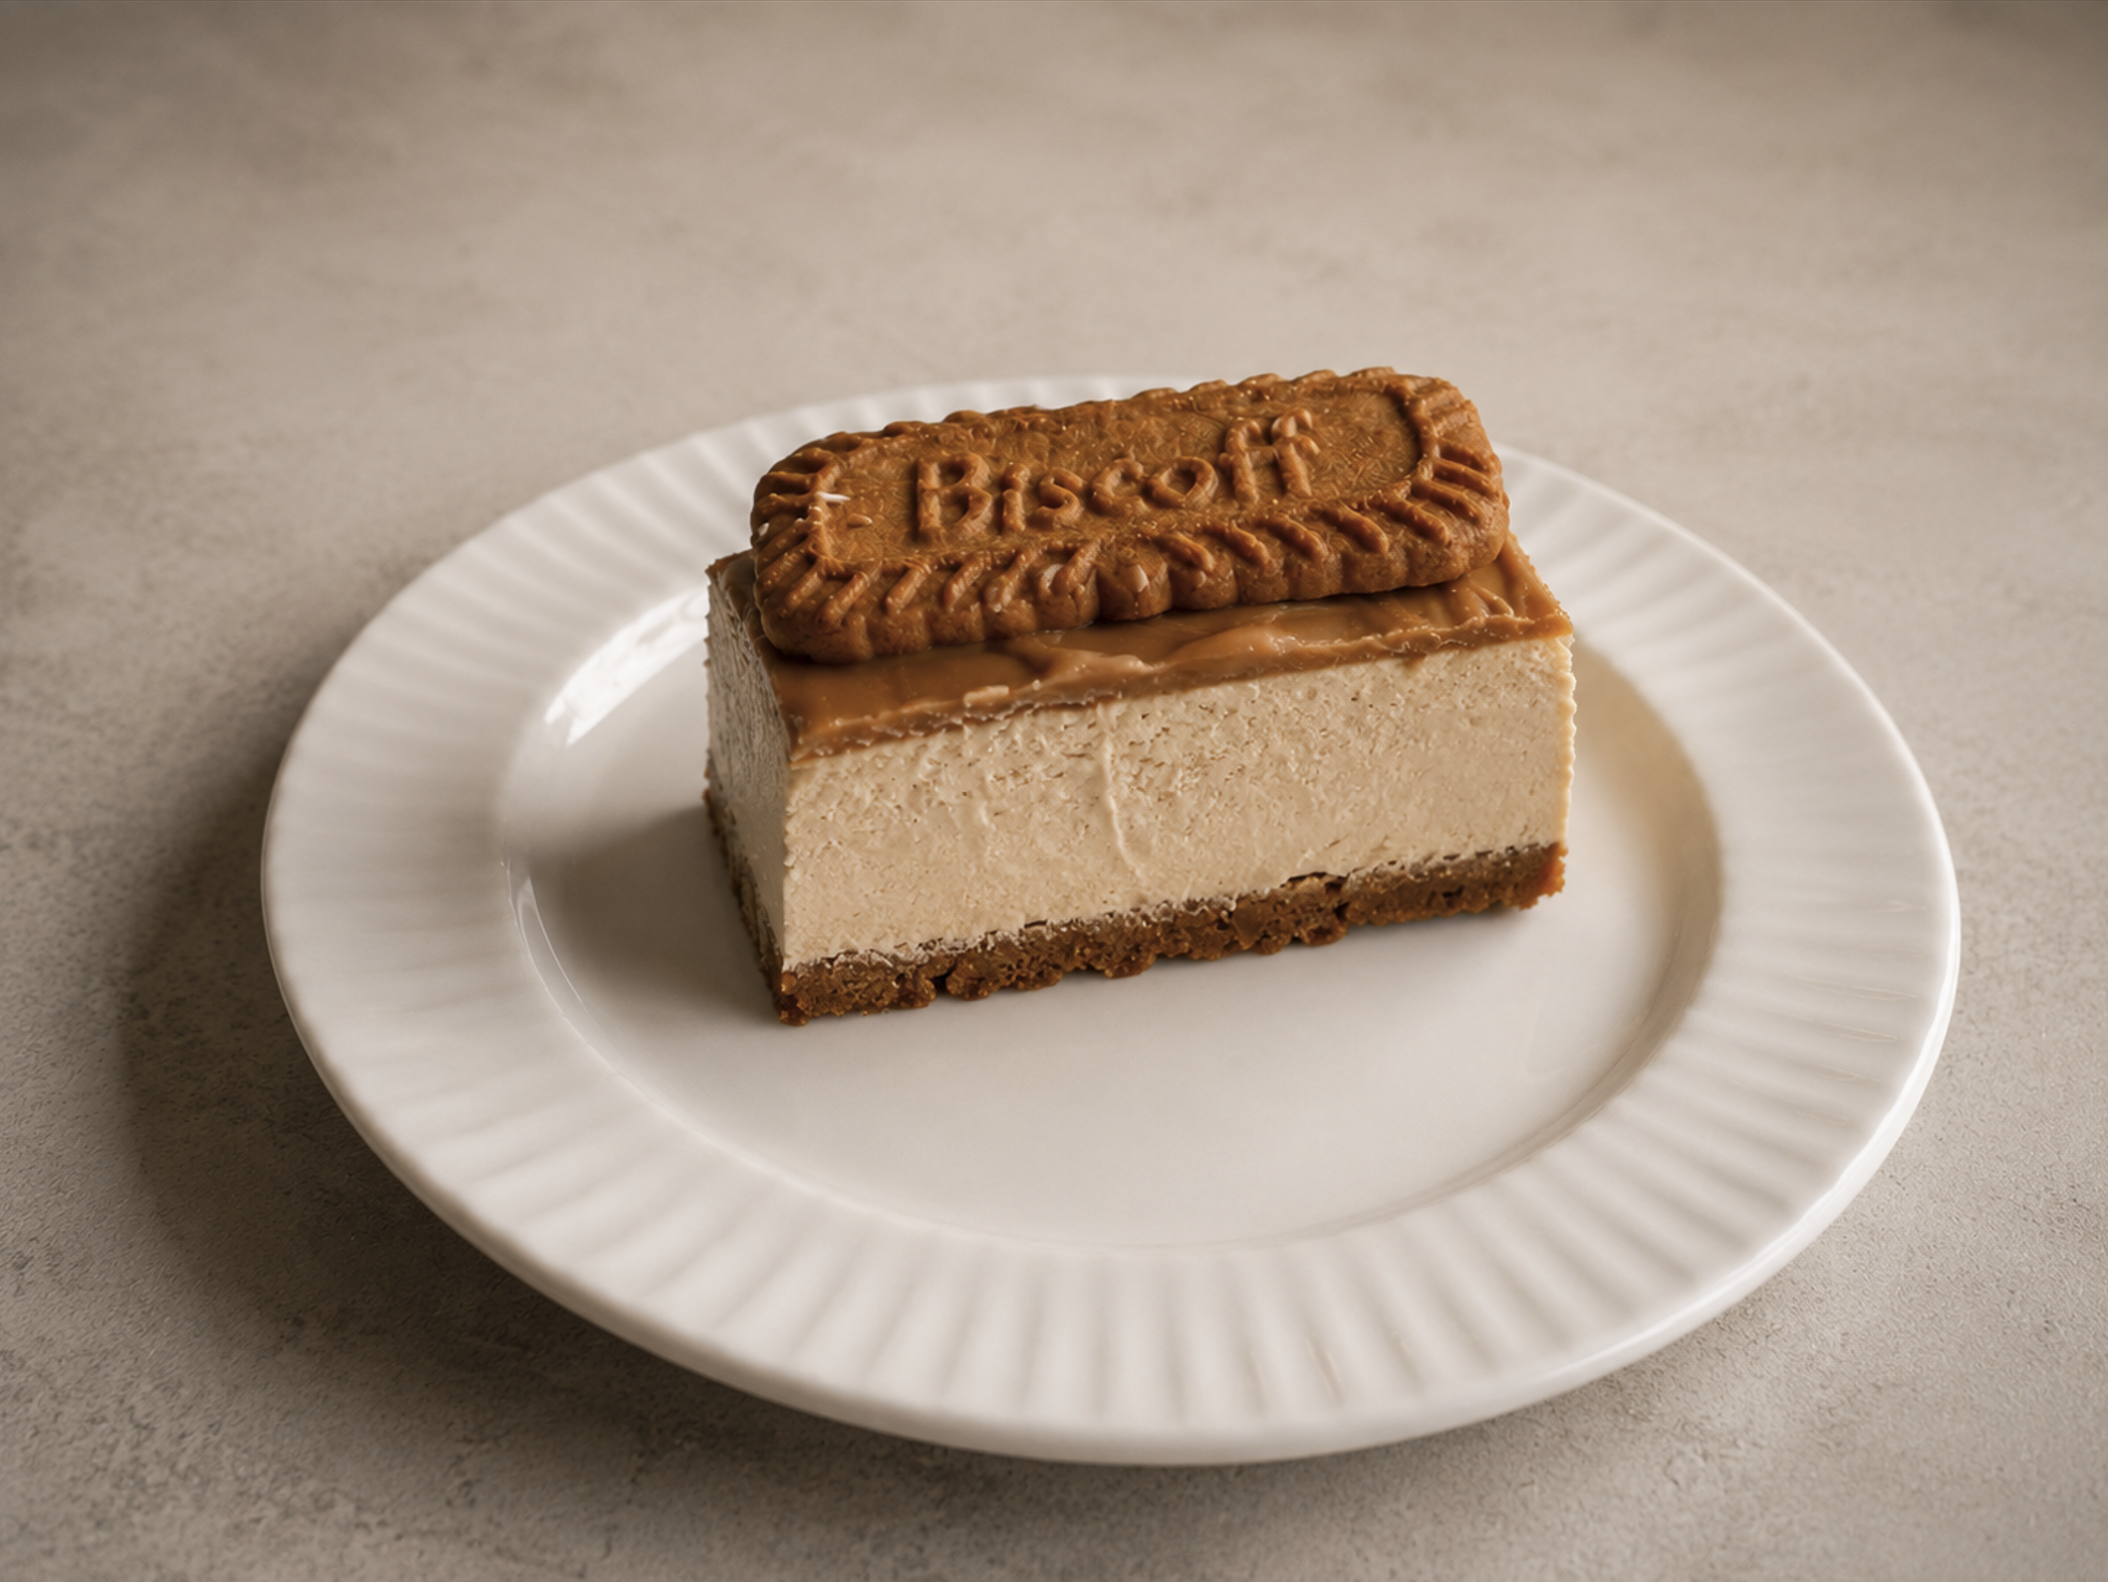
Brown Butter Biscoff Cheesecake
A creamy no-bake Biscoff cheesecake with a buttery browned butter biscuit base, silky vanilla filling and a smooth caramelised biscuit topping.
Tony Says...
"The best desserts aren't always the most complicated—they're the ones that make everyone ask for just one more slice."
The Story Behind the Dish
Some desserts become favourites because they're elegant. Others because they're nostalgic. This cheesecake manages to be both.
Biscoff has always been one of those flavours that instantly feels familiar. Its caramelised biscuit flavour is comforting without being overly sweet, making it the perfect base for a rich yet balanced cheesecake. I wanted to create a version that felt a little more refined than the classic—something smooth, creamy and indulgent, while still being simple enough to make for family gatherings, celebrations or a summer barbecue.
One small change makes all the difference: browning the butter before mixing it with the biscuit crumbs. It adds a gentle toasted, almost hazelnut-like flavour that complements the caramel notes of the Biscoff beautifully and gives the base a depth you don't often find in a traditional no-bake cheesecake.
Finished with a silky layer of melted Biscoff spread and topped with whole Lotus biscuits, it's the kind of dessert that looks impressive without requiring complicated techniques—and one that's almost guaranteed to disappear before the end of the evening.
Recipe Information
- ⏱ Prep Time - 30 minutes
- ❄️ Chill Time – Overnight (minimum 6 hours)
- ⌛ Total Time - Approximately 6½ hours
- 🍽️ Serves - 20
- ⭐ Difficulty - Easy
- 🔥 Calories - 695 kcal
- 💪 Protein - 7g
- 🌾 Carbohydrates - 34g
- 🥑 Fat - 37g
Kitchen Essentials
- Large roasting tin (approximately 33 × 22cm)
- Baking paper
- Mixing bowl
- Electric whisk
- Offset spatula or palette knife
- Small saucepan
- Optional for Thermomix Users - This recipe has been tailored for the TM6, but it should also work perfectly with the TM5 and TM7 models with little or no adjustment. If using a Thermomix you will not be needing the mixing bowl, electric whisk, or the small saucepan.
Gather Your Ingredients
Biscuit Base
- 600g Lotus Biscoff biscuits
- 250g unsalted butter
- Pinch of fine sea salt
Cheesecake Filling
- 1.2kg full-fat cream cheese
- 250g mascarpone
- 200g icing sugar (if using a thermomix, you can blend normal sugar for 10 seconds on speed 10)
- 2 tsp vanilla extract
- 300g smooth Biscoff spread
- 400ml double cream
- 10g powdered gelatine
Biscoff Toping
- 300g smooth Biscoff spread
To Finish
- 20 whole Lotus Biscoff biscuits
- Crushed Lotus Biscoff biscuits
- White chocolate curls (optional)
- Flaky sea salt (optional)
Method
- Prepare the Tin - Line a large roasting tin (approximately 33 × 22cm) with baking paper, leaving enough overhang on two sides to lift the cheesecake out easily once set.
- Brown the Butter - Place the butter into a saucepan over a medium heat. Allow it to melt completely before continuing to cook until the bubbling has almost stopped, the milk solids have turned golden brown and the butter smells deeply nutty. Remove from the heat and allow it to cool slightly.
- Make the Base - Crush the Biscoff biscuits into fine crumbs using a food processor or by placing them in a freezer bag and crushing with a rolling pin. Mix with the browned butter and sea salt until all of the crumbs are evenly coated. Transfer the mixture to the prepared tin and press firmly into an even layer using the bottom of a glass or measuring cup. Refrigerate for at least 30 minutes while preparing the filling.
- Prepare the Filling - Ensure all of the ingredients are at room temperature before mixing to achieve the smoothest possible cheesecake filling. In a large mixing bowl, beat together the cream cheese, mascarpone, icing sugar, vanilla extract and Biscoff spread until smooth and completely lump-free. In a separate bowl, whip the double cream to soft peaks before gently folding it into the cheesecake mixture. Continue folding until fully combined, taking care not to knock too much air out of the mixture. Bloom the gelatine by placing it in 50ml cold water for 10 minutes then heat gently to dissolve fully and incorporate well into the filling.
- Assemble - Remove the chilled biscuit base from the refrigerator and spoon the cheesecake filling over the top. Spread evenly using an offset spatula or the back of a spoon until completely smooth. Cover and refrigerate for at least 6 hours, although overnight will give the best texture.
- Decorate - Gently warm the Biscoff spread until pourable before pouring it over the chilled cheesecake. Spread into an even layer using an offset spatula. Arrange the whole Lotus Biscoff biscuits evenly over the top to mark your serving portions, then finish with a light scattering of crushed Biscoff biscuits. If desired, add white chocolate curls and a small pinch of flaky sea salt.
- Slice & Serve - For the cleanest slices, dip a sharp knife into hot water and wipe it dry between each cut. Cut into 20 portions, using the biscuits as a guide, and serve chilled.
Thermomix Method
This recipe has been tailored for the Thermomix TM6, but it should also work with the TM5 and TM7 models with little or no adjustment.
- Prepare the tin - Line a large roasting tin (approximately 33 × 22cm) with baking paper, leaving enough overhang on two sides to lift the cheesecake out easily once set. If making your own icing sugar in the thermomix its good to do this now before you get the bowl dirty.
- Brown the Butter - Add the butter to the Thermomix mixing bowl. Remove the measuring cup and place the simmering basket over the lid to allow steam to escape whilst preventing splashes. Cook: 20–25 min | Varoma | Speed 1. The butter is ready when the bubbling has almost stopped, the milk solids have turned golden brown and it has developed a rich, nutty aroma. Allow to cool slightly before continuing.
- Make the Base - Add the Biscoff biscuits and sea salt to the browned butter. Blend: 15 sec | Speed 6. Scrape down the sides of the bowl and blend for a further: 5 sec | Speed 5. The mixture should resemble fine, evenly coated crumbs. Transfer to the prepared tin and press firmly into an even layer using the bottom of a glass or measuring cup. Refrigerate for at least 30 minutes while preparing the filling.
- Prepare the Filling - Ensure all of the ingredients are at room temperature before mixing to achieve the smoothest possible cheesecake filling. Insert the butterfly whisk. Add the double cream and whip: Speed 3 (no time set). Watch carefully and stop as soon as soft peaks form (this usually takes 30–90 seconds). Transfer to a separate bowl and remove the butterfly whisk. Without washing the mixing bowl, add the cream cheese, mascarpone, icing sugar, vanilla extract and Biscoff spread. Mix: 30 sec | Speed 4. Scrape down the sides of the bowl and mix again: 20 sec | Speed 4. Return the whipped cream to the mixing bowl and fold through: 20 sec | Reverse | Speed 2.5. If required, finish folding gently with the spatula until the mixture is smooth and fully combined. Bloom the gelatine by placing it in 50ml cold water for 10 minutes then heat gently to dissolve fully and incorporate well into the filling. You can place the thermomix on 30 sec | Speed 4 and slowly pour the gelatine in through the opening at the top.
- Assemble - Remove the chilled biscuit base from the refrigerator and spoon the cheesecake filling over the top. Spread evenly using an offset spatula or the back of a spoon until completely smooth. Cover and refrigerate for at least 6 hours, although overnight will give the best texture.
- Decorate - Gently warm the Biscoff spread until pourable before pouring it over the chilled cheesecake. Spread into an even layer using an offset spatula. Arrange the whole Lotus Biscoff biscuits evenly over the top to mark your serving portions, then finish with a light scattering of crushed Biscoff biscuits. If desired, add white chocolate curls and a small pinch of flaky sea salt.
- Slice & Serve - For the cleanest slices, dip a sharp knife into hot water and wipe it dry between each cut. Cut into 20 portions, using the biscuits as a guide, and serve chilled.
Tony's Tips
- Take your ingredients out of the fridge 30–60 minutes before you begin. Room temperature cream cheese and mascarpone blend together much more smoothly, giving you a silky cheesecake without lumps.
- Don't skip browning the butter. It only takes a few extra minutes but transforms the flavour of the base with rich, nutty notes that pair beautifully with the caramelised sweetness of Biscoff.
- Whip the cream to soft peaks only. Over-whipping can make the filling grainy and heavier than it needs to be. The cream should hold its shape whilst still looking smooth and glossy.
- For perfectly clean slices, chill overnight and use a hot knife. Dip the blade into hot water, wipe it dry and clean it between every cut for neat, bakery-style portions.
- Decorate just before serving. Adding the whole Lotus biscuits shortly before serving keeps them crisp and gives the cheesecake its signature finish.
Good to Know
- Use full-fat cream cheese for the best texture.
- Browning the butter gives the base a rich, nutty flavour.
- Chill overnight for the cleanest slices.
- Decorate just before serving to keep the biscuits crisp.
- Perfect for parties, BBQs and celebrations.
At Tony's Table...
There's something about a traybake cheesecake that brings people together. Whether it's sitting in the middle of a summer barbecue table, celebrating with family, or simply sharing coffee with friends on a Sunday afternoon, it's one of those desserts that never seems to last very long.
I love serving this cheesecake straight from the fridge with a fresh pot of coffee, although it's just as good alongside a scoop of vanilla ice cream or a handful of fresh raspberries if you're looking for a little contrast to the rich caramel flavours.
...and remember, there's always room at Tony's Table.